“Dialing in” is the process of adjusting your grind size, dose, and water yield to find the sweet spot where your coffee beans taste balanced, sweet, and complex. It is the single most important skill any home barista can learn.
If you’ve ever pulled a shot that tasted unpleasantly sour or intensely bitter, learning how to dial in is the key to fixing it. Let’s walk through the step-by-step process to dial in your espresso like a professional.
The 3 Golden Variables of Espresso
Before we start brewing, you need to understand the three inputs that control your extraction:
- Dose: The weight of dry ground coffee placed in your portafilter basket (measured in grams).
- Yield: The weight of the liquid espresso extracted into your cup (measured in grams).
- Time: The duration of the brew from the moment you start the pump until you stop it (measured in seconds).
The industry standard starting point is a 1:2 brew ratio in 25 to 30 seconds. For example, if you dose 18g of dry coffee, you should aim for 36g of liquid espresso in your cup.
Essential Equipment Needed
To dial in espresso accurately, you cannot estimate. You need a digital kitchen scale that measures in 0.1-gram increments.
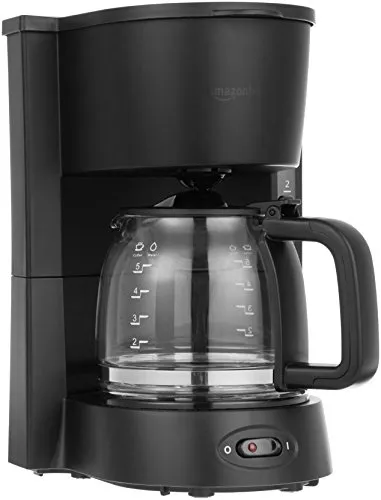
Digital Coffee Scale with Built-in Timer
An absolute necessity for dialing in. Measures both weight in 0.1g increments and extraction time simultaneously.
Step-by-Step Dialing In Guide
Follow these steps in order. Only adjust one variable at a time (usually the grind size).
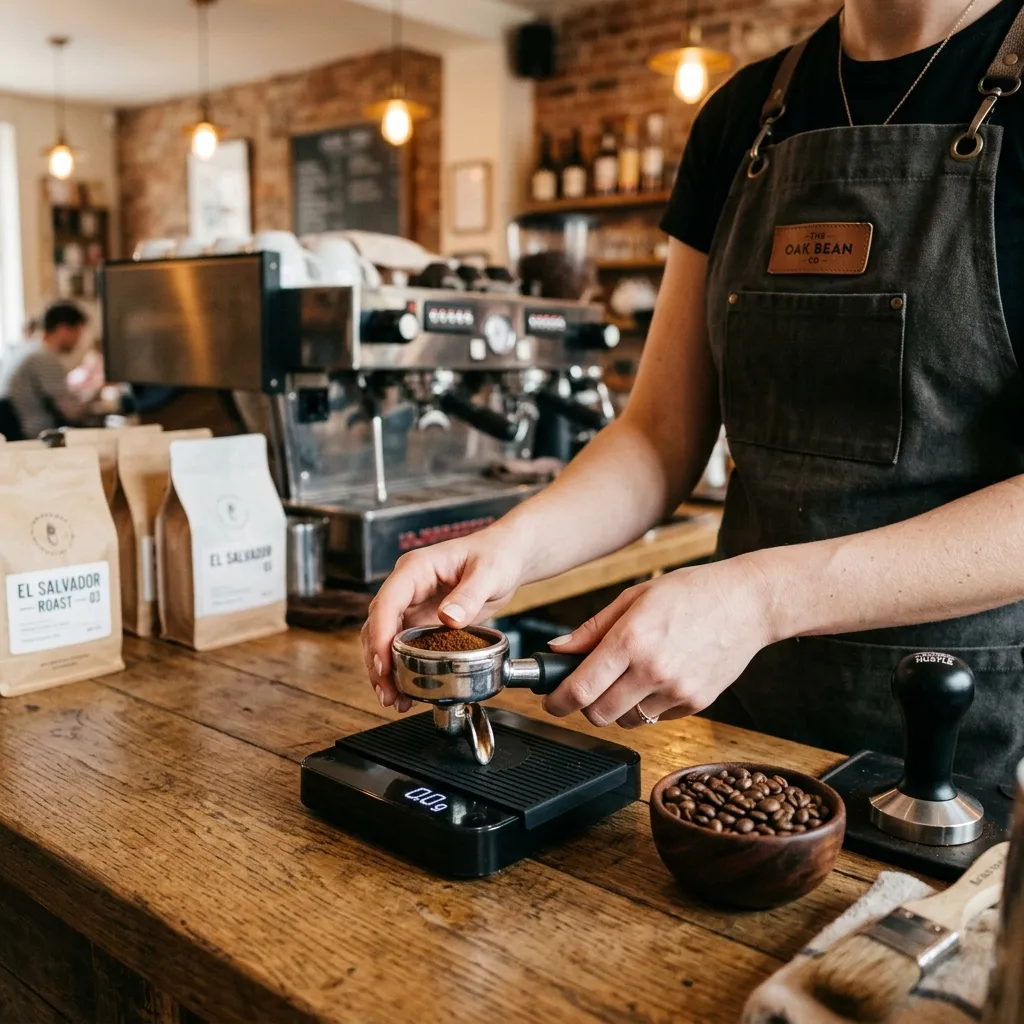
Step 1: Set Your Dose
Check the capacity of your filter basket (usually stamped on the side, e.g. 18g). Weigh exactly that amount of coffee beans. Grind them, dose them into your portafilter, and tamp evenly. Keep this dose constant throughout the process.
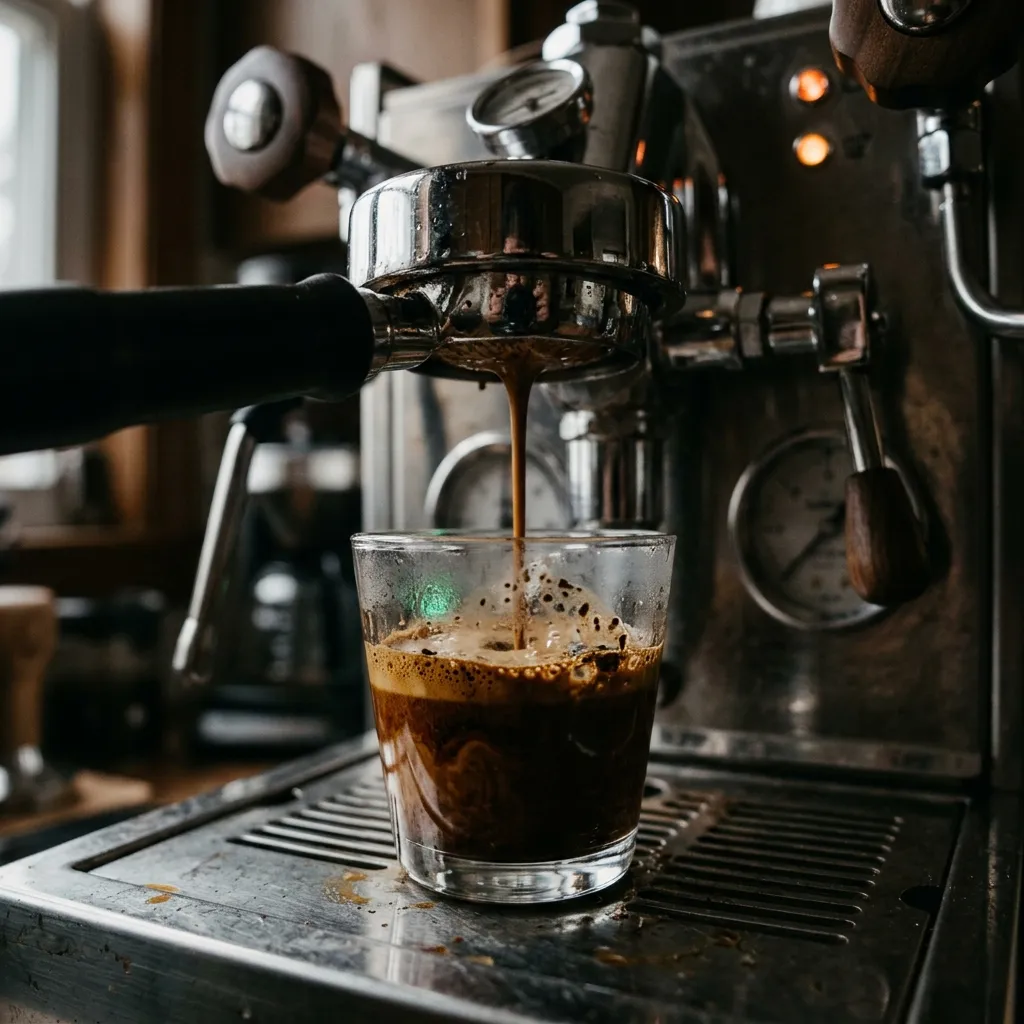
Step 2: Pull Your First Shot (The Baseline)
Place your cup on the digital scale under the portafilter. Tare the scale to zero. Start your espresso machine’s pump and a timer simultaneously. Stop the pump the exact moment your scale reads double your dose (e.g. 36g of liquid). Note the time on your timer.
Step 3: Analyze the Brew Time
- Under 20 seconds: The water flowed too fast. The coffee is under-extracted and will taste sour.
- The Fix: Adjust your grinder to make the grind finer.
- Over 35 seconds: The water struggled to flow. The coffee is over-extracted and will taste bitter and dry.
- The Fix: Adjust your grinder to make the grind coarser.
- Between 25 to 30 seconds: You are in the ballpark! Taste the shot.
Step 4: The Taste Test
- If it tastes sour: Grind slightly finer to slow down flow and extract more sugars.
- If it tastes bitter: Grind slightly coarser to speed up flow and avoid extracting bitter compounds.
- If it tastes sweet, balanced, and smooth: Congratulations! Your espresso is dialed in.
Barista Troubleshooting Tips
- Channeling: If water shoots out in jets or flows unevenly, water is taking the path of least resistance through cracks in your coffee puck. Ensure your coffee bed is flat and even before tamping.
- Roast Level Adjustments: Dark roasts dissolve easily. If you brew dark roasts, use slightly cooler water (195°F) and a slightly coarser grind. Light roasts are dense and extract slowly, requiring hotter water (205°F) and a finer grind.